This post walks through how I grew my first kombucha SCOBY from store-bought kombucha, no starter culture needed.
Kefir was my gateway ferment. Sourdough came soon after, and for a long time those two were the whole of my fermentation world. This year, with more garden abundance than I knew what to do with, I fell deeper into the world of fermentation — lacto-fermented pickles, salsa, pesto, green beans, green tomatoes, you name it. But the ferment I’ve fallen hardest for has been kombucha. I started my first batch nervous and a little skeptical. I’ve never loved store-bought kombucha, so I genuinely didn’t know if homemade would win me over or if I was about to spend a few weeks babysitting a jar of tea for nothing.
Growing a SCOBY from Store-Bought Kombucha
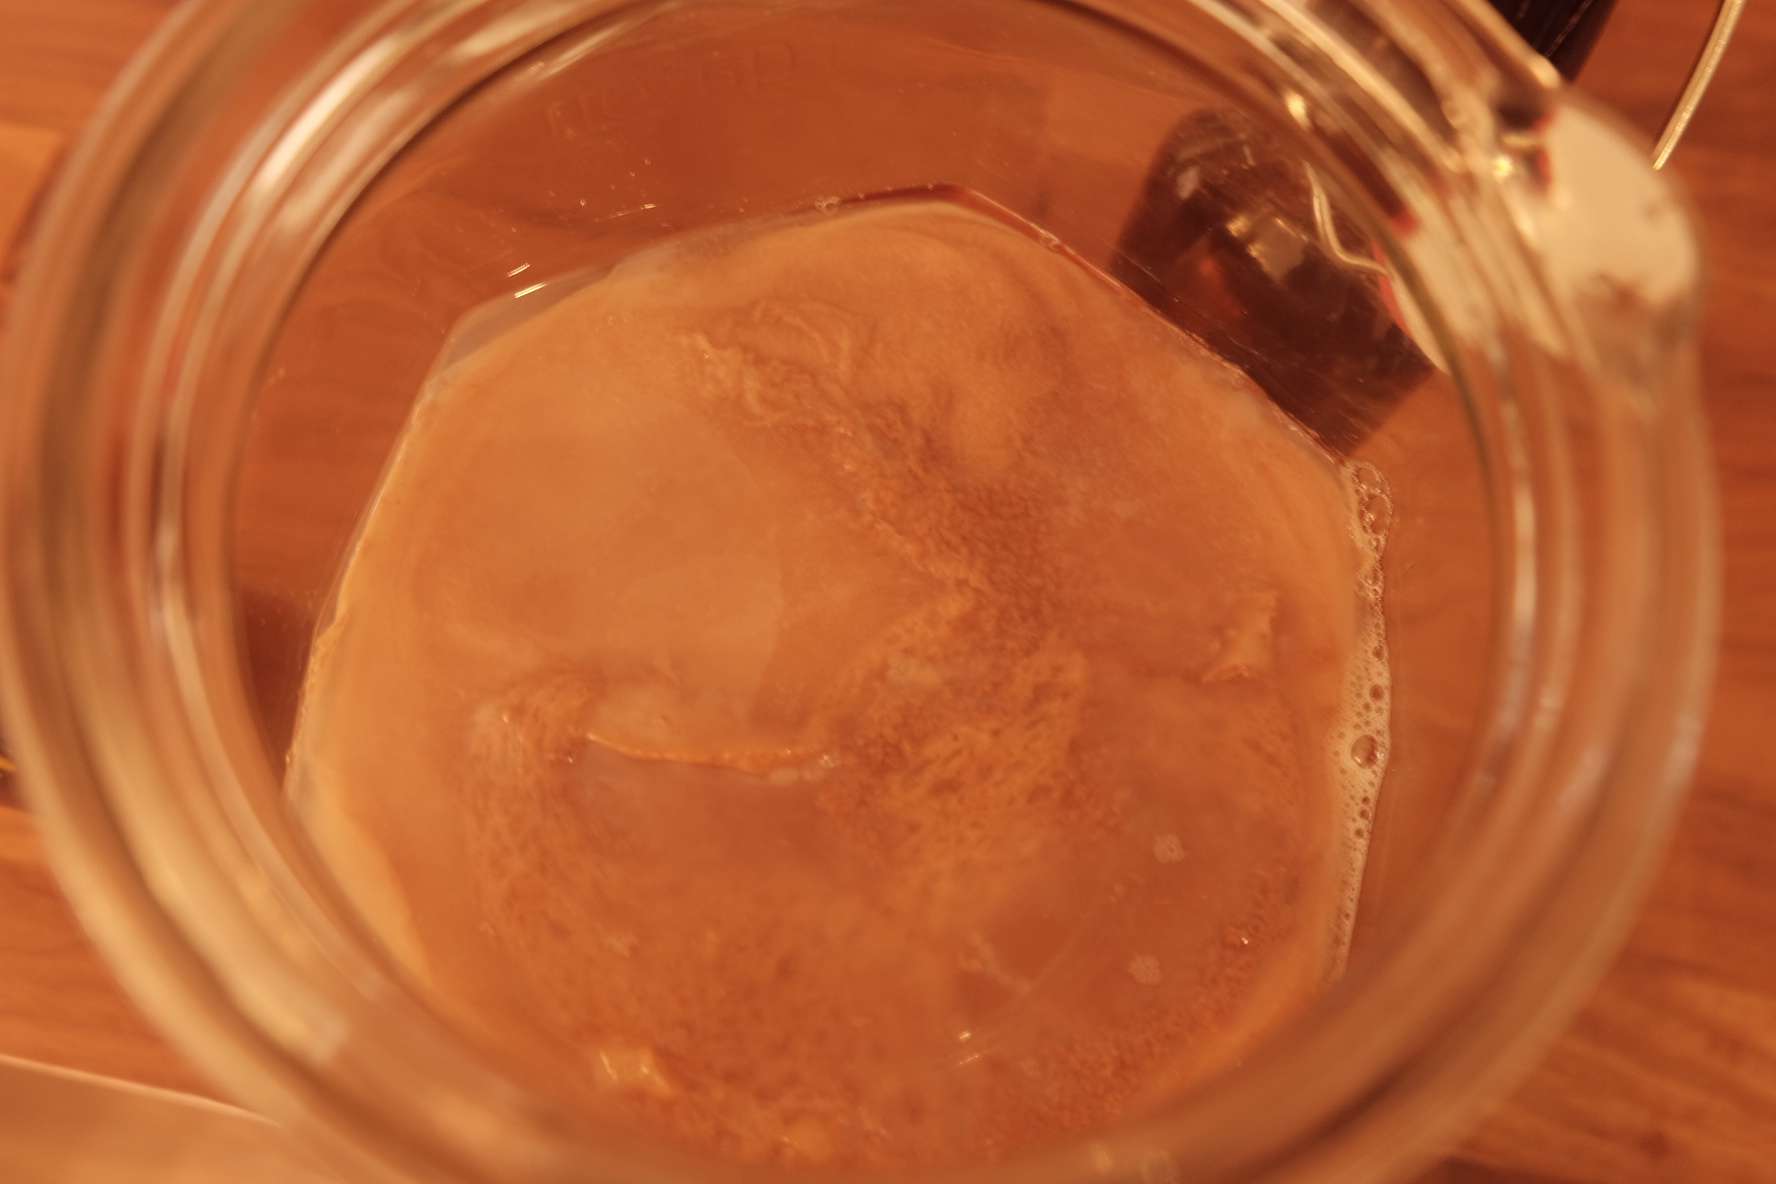
I didn’t have a SCOBY, which is critical for fermenting kombucha at home. So I went with the trick of starting a batch from a bottle of unpasteurized store-bought kombucha instead. I couldn’t find anything unflavored, so I took an unpasteurized ginger-lemon kombucha and hoped for the best. I poured the kombucha in with sweetened black tea — an Earl Grey blend with lavender and rose that I already had on hand. Then, all I could do was wait.
The First Ferment
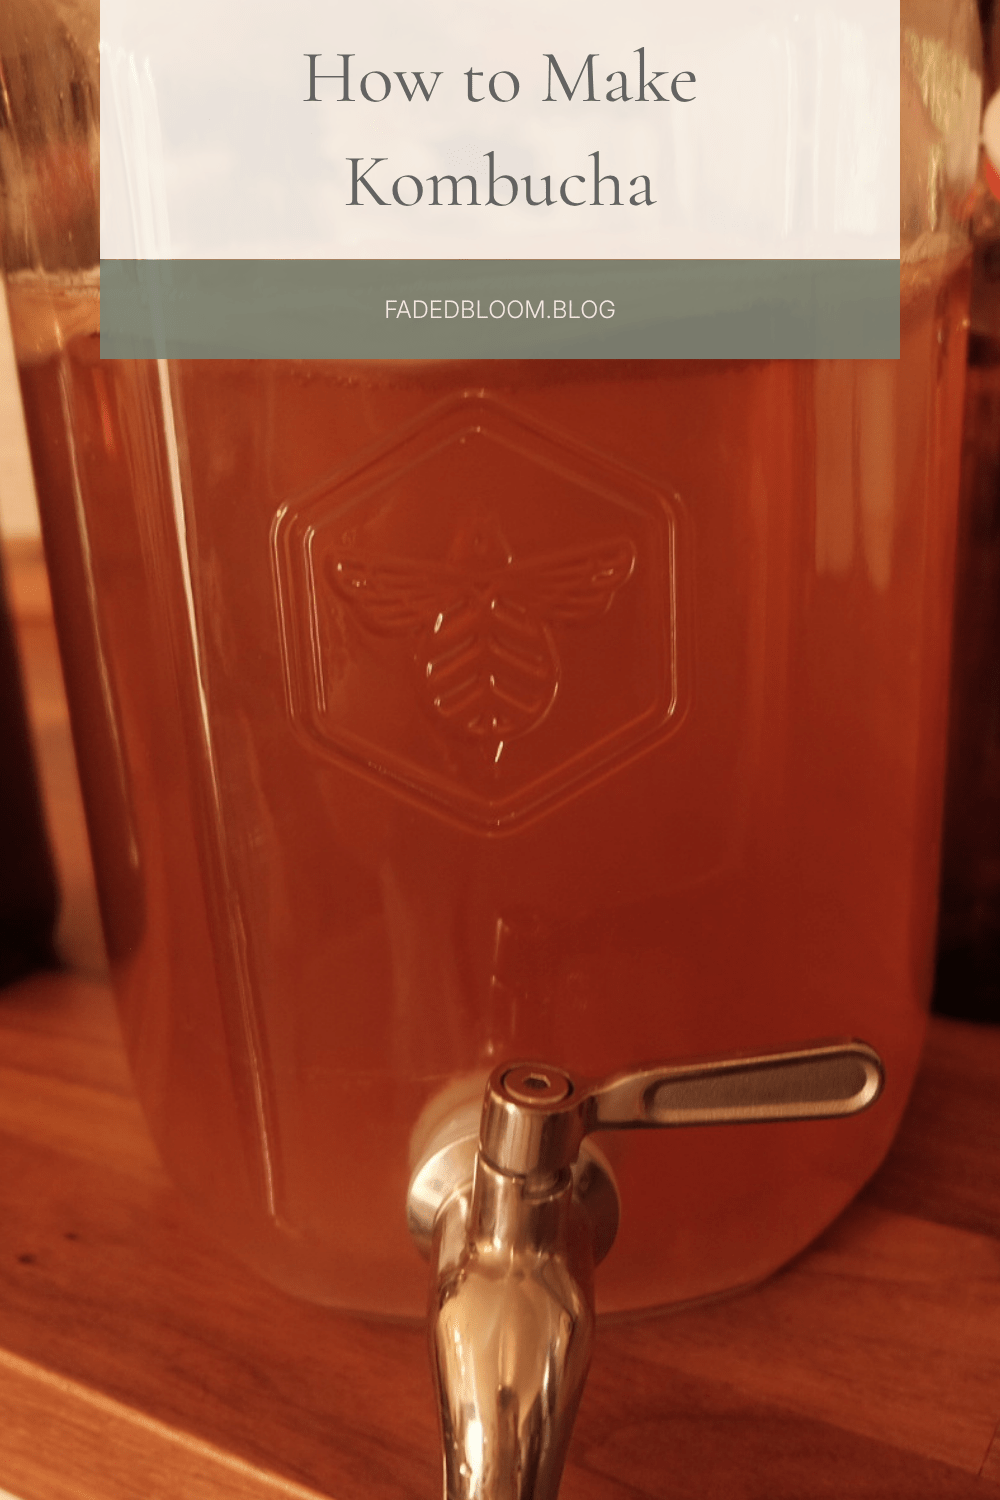
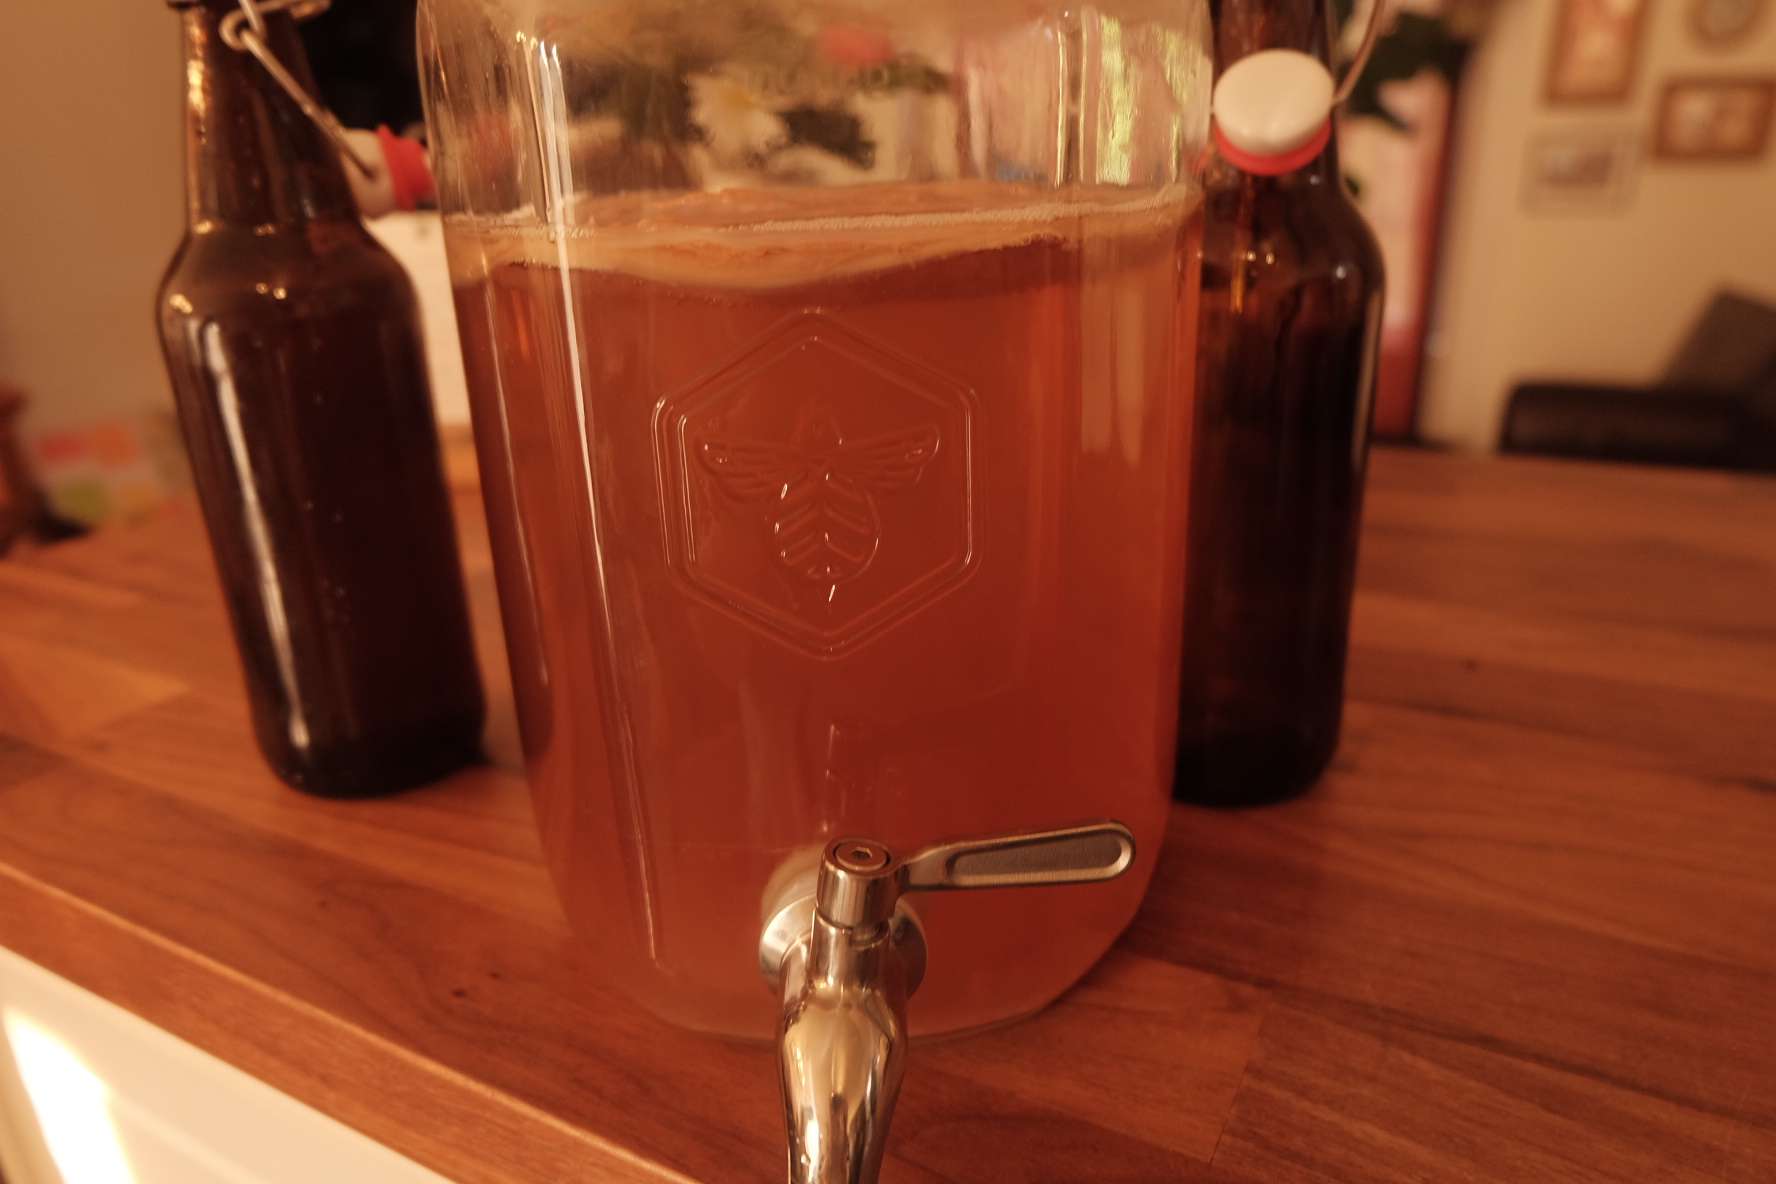
For my first ferment, I used a gallon glass pitcher (the kind made for brewing, with a spout and a little fabric cover). I wrapped the pitcher with the in a kitchen towel to keep the temperature steady and then tucked it into a dark cabinet. Within a couple of days, a SCOBY started forming — small at first, with brown patches along the corners that had me convinced I’d already ruined it. Fortunately, it turns out that’s completely normal.
I let the kombucha ferment for about a week before tasting it. I’m a sucker for really sour ferments. At day seven, it was still more sweet tea than tang, so I let it ride longer. After about 14 days I was greeted with a perfectly tangy, slightly sweet brew. Immediately, I knew it was ready to start the second ferment.
Flavoring & Second Ferment
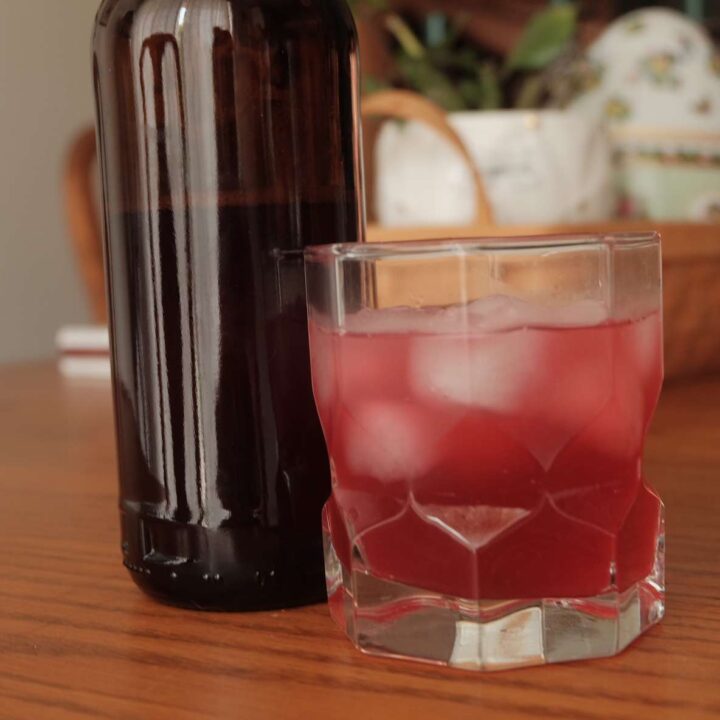
What I didn’t know going in was that the second ferment needs fruit — not just for flavor, but to give the yeasts something to work with so they can carbonate. I raided my fridge and garden for whatever was around: a nectarine, some fresh mint, a little rosemary. Half my bottles became nectarine-mint. The other half; nectarine-rosemary.
Note
I burped the bottles twice a day because I worried so badly about exploding bottles. In hindsight, Burping them that often was probably overkill. They carbonated fast, and the second I heard a real “pop” when I opened one, I called it done and stuck them in the fridge.
Results & Taste Verdict
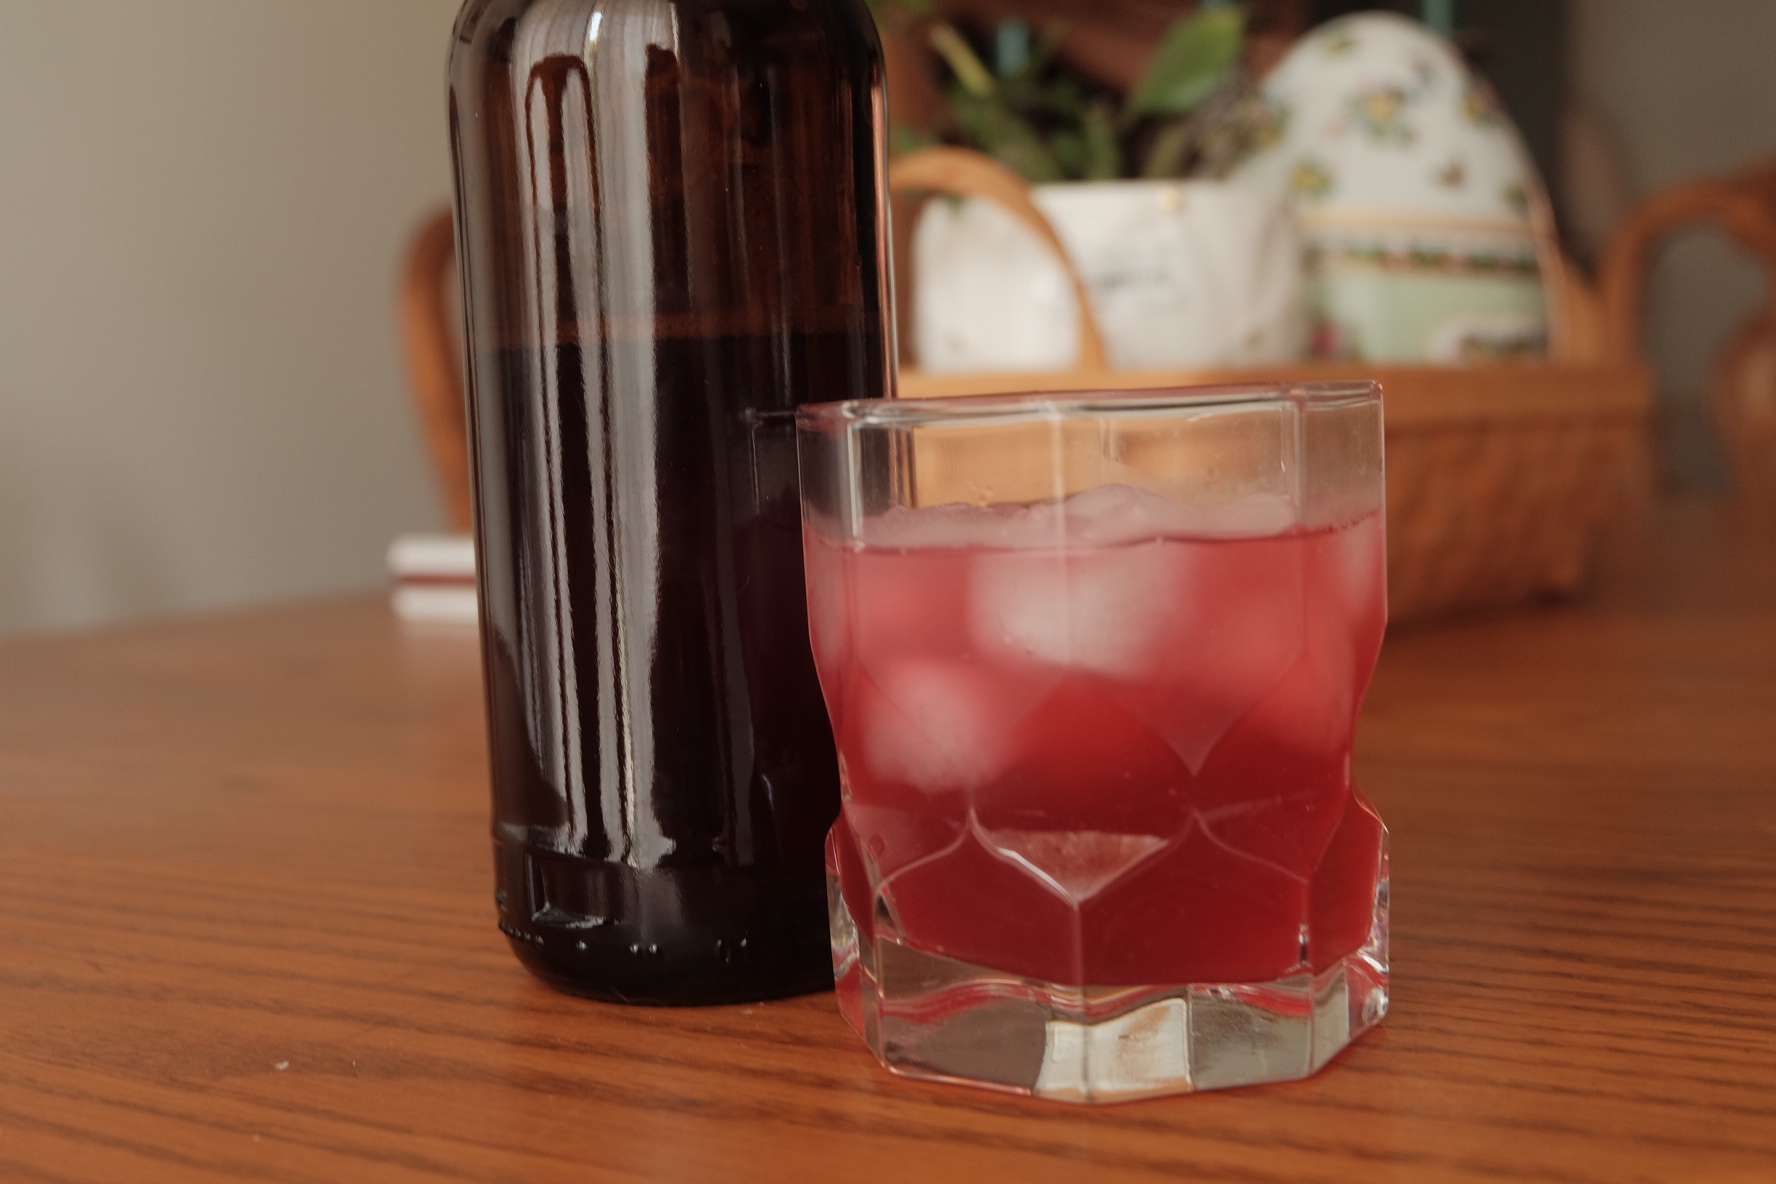
I tried the nectarine-rosemary first, and it completely won me over. It was bright and a little herbal, with just enough carbonation to feel like something I’d actually reach for on a hot afternoon — closer to a good cold glass of lemonade than anything I’d had from a bottle at the store. Neither the rosemary nor the fruit fought with the kombucha itself; they just rounded it out. I’ve had a glass with lunch or dinner nearly every day since.
I’ve already started my second batch and it is starting its second ferment. This time, I am trying huckleberries and mint, huckleberries and basil, cherries and mint, and cherries and basil. I am really just utilizing whatever fruits and fresh herbs I have on hand, with a preference for my garden herbs and fruits first. I cannot wait to keep experimenting and finding my favorite combinations and sharing my brews with my neighbors and friends.
Kombucha
Learn how to make homemade kombucha with a SCOBY, sweet tea, and a little patience.
Ingredients
- - 6 tbsp loose leaf tea OR 6 tea bags (black or green)
- - 1 cup of sugar
- - 4 cups of boiled water
- - 1 SCOBY OR 1 cup unpasteurized, unflavored kombucha
- - 4 cups filtered water (cold)
Instructions
- Steep your tea bags in the boiling water for 15 minutes
- Squeeze out the tea bags and discard.
- Stir in the cup of sugar into the mix.
- Let the sweet tea mixture cool until it has reached room temperature.
- Mix in your unpasteurized, unflavored kombucha or place your SCOBY gently into the jar.
- Top of with the rest of your cold water.
- Cover the jar with a cloth and let ferment for 7-14 days. Taste throughout the fermentation process until the kombucha has reached your desired tartness level.
- Bottle and flavor with herbs and fruits and seal.
- Burp bottles daily.
- Let bottles ferment from 1-4 days (depending on desired carbonation levels)
- Once carbonation levels are reached, put in the refrigerator and enjoy!
📌 Save this post for later
Want to start your very own batch of kombucha? Save this guide to Pinterest for when you start brewing.